跳至主要内容

FIAT Freemont 2014 TPMS Programming by Launch X431


After replacing new tire pressuring sensors or new tire pressure monitoring control module ,you need to perform programming.So here car-auto-repair.com show you guide on how to use Launch X431 to program TPMS for FIAT Freemont 2014.For more Fiat repair,please check here:FIAT Trouble Repair

FIAT-Viaggio-2012-Seatbelt-ReminderAlert-Activation-by-Launch-X431-1

What You Need?

Launch X431 V+

Precautions

To run this function correctly, ensure the following conditions:

1.The vehicle is equipped with tire pressure monitoring module and the module is in normal communication. The ignition key is in the ON position. All wires and connectors are properly tightened. The communication fault may occur in poor condition or low battery of the car.

2.The gear selector must be in P position.

3.The sensor ID on the label on the back of the sensor must be entered exactly.

Operation Instructions

Access the vehicle software via the X-431 Pro series diagnostic device, select the correct model,and then enter the special function of the tire pressure monitoring system. Click to enter the Program tire pressure sensor function. After enter the sensor ID on the label on the back of the sensor must be entered exactly, the tire pressure sensor calibration has been completed. There are four special functions in the Program tire pressure sensor function:

Program left front tire sensor ID
Program left rear tire sensor ID,
Program right front tire sensor ID
Program right rear tire sensor ID

The following is to describe how to carry out this function via the Program left front tire sensor ID function combined with the (Menu path) figure.

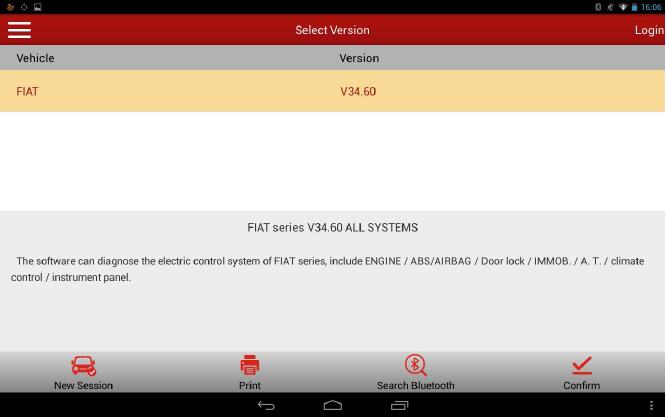
1.Select Fiat V34.51 or above;

FIAT-Freemont-2014-TPMS-Programming-by-Launch-X431-2

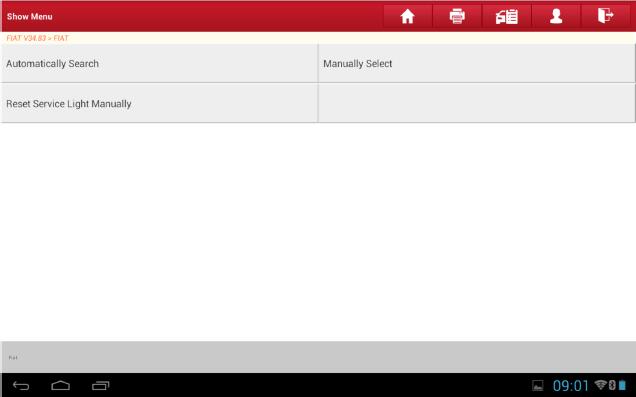
2.Select Manual Select;

FIAT-Viaggio-2012-Seatbelt-ReminderAlert-Activation-by-Launch-X431-3

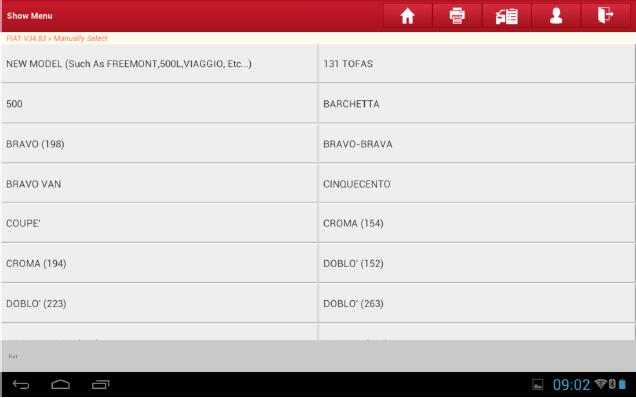
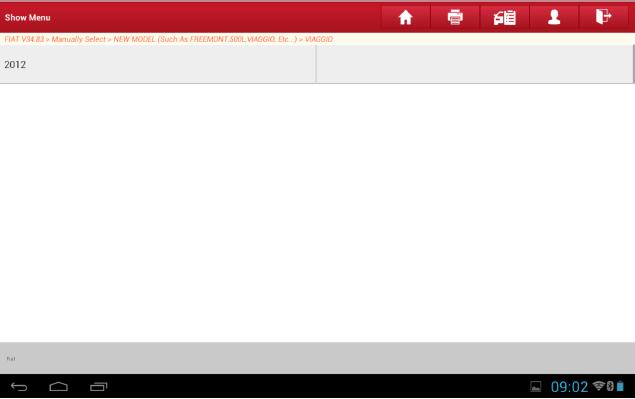
3.Select new model (such as Freemont, 500L, Viaggio, etc.);

FIAT-Viaggio-2012-Seatbelt-ReminderAlert-Activation-by-Launch-X431-4

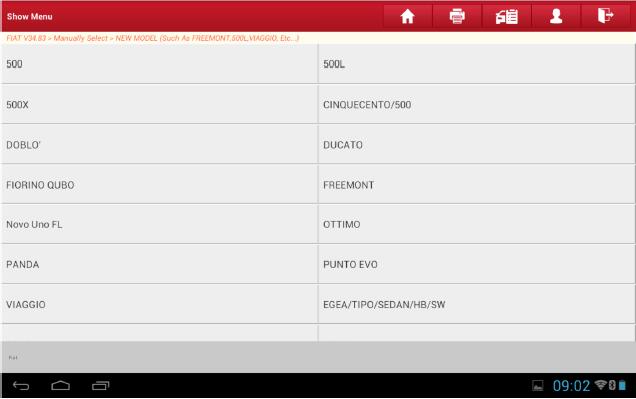
4.Select Freemont model;

FIAT-Viaggio-2012-Seatbelt-ReminderAlert-Activation-by-Launch-X431-5

5.Select 2014 model;

FIAT-Viaggio-2012-Seatbelt-ReminderAlert-Activation-by-Launch-X431-6

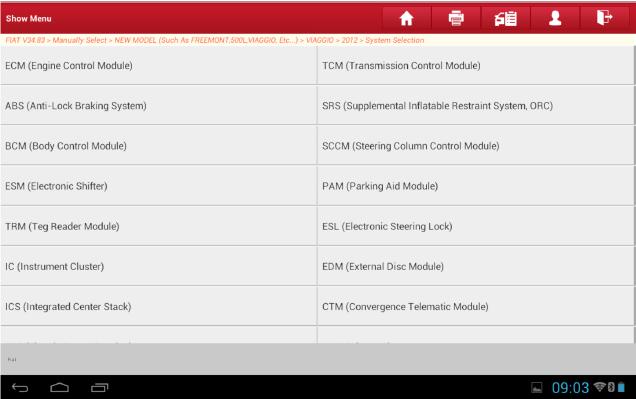
6.Select System Select;

FIAT-Viaggio-2012-Seatbelt-ReminderAlert-Activation-by-Launch-X431-7

7.Select TPMS (Tire Pressure Monitoring System);

FIAT-Viaggio-2012-Seatbelt-ReminderAlert-Activation-by-Launch-X431-8

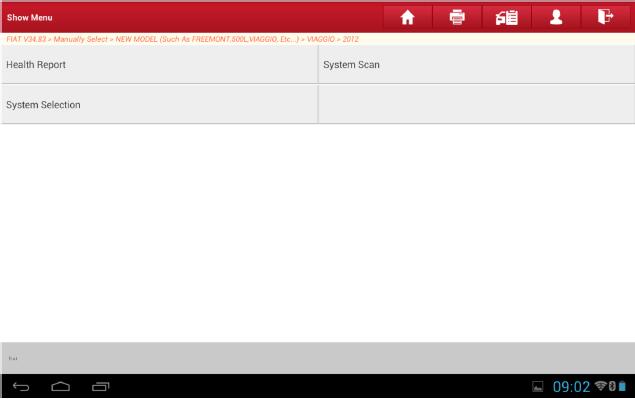
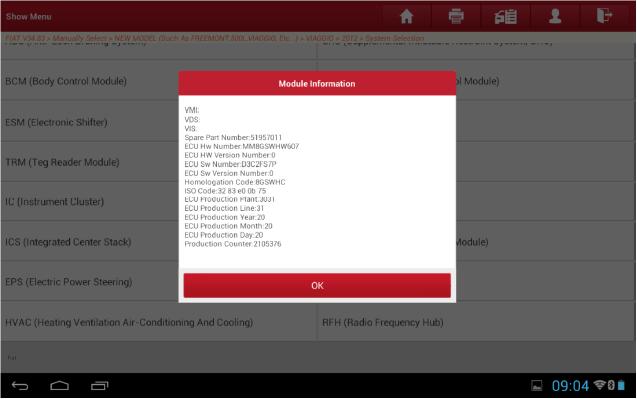
8.Display the system version info of current vehicle model;

FIAT-Viaggio-2012-Seatbelt-ReminderAlert-Activation-by-Launch-X431-9

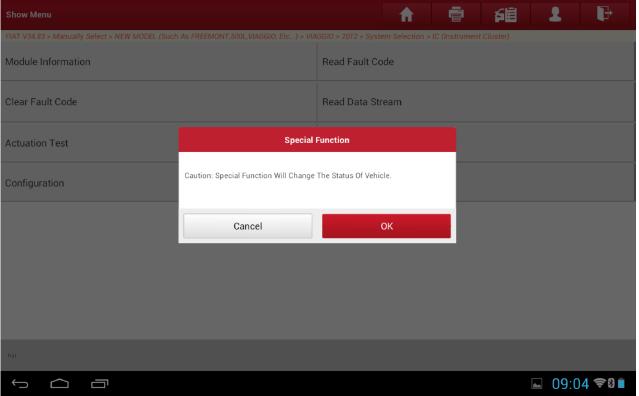
9.Display the system function menu, and enter into special function;

FIAT-Viaggio-2012-Seatbelt-ReminderAlert-Activation-by-Launch-X431-10

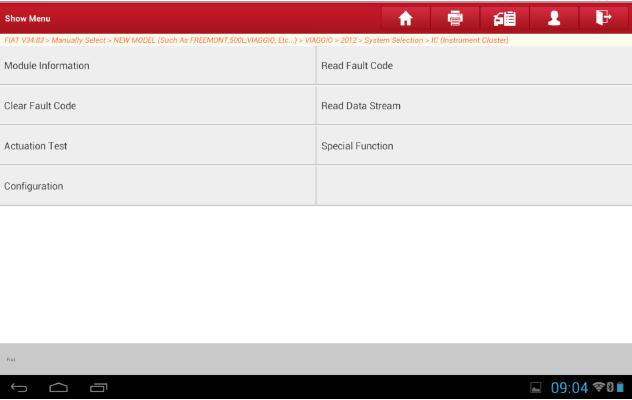
10.Display the multifunction and system test menu, and enter into multifunction;

FIAT-Viaggio-2012-Seatbelt-ReminderAlert-Activation-by-Launch-X431-11
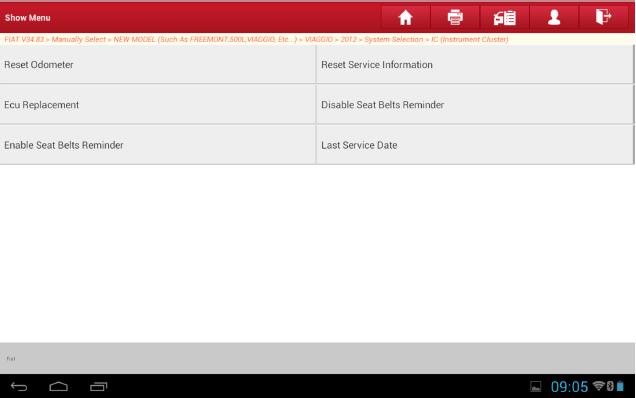
11.List the special function menu of the tire pressure monitoring system, select ‘Program left front tire sensor ID’ function (Here takes the Program left front tire sensor ID as an example, the programming method for other tires is the same);

FIAT-Viaggio-2012-Seatbelt-ReminderAlert-Activation-by-Launch-X431-12

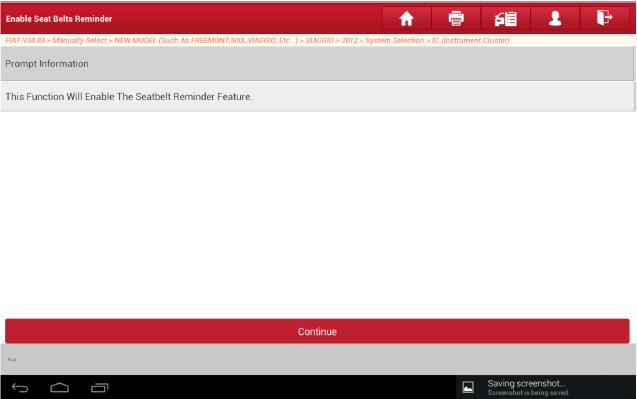
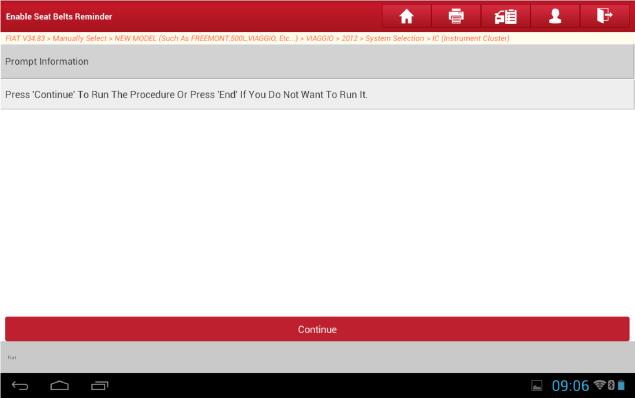
12.Access the Program left front tire sensor ID function, and then indicate the info before test

FIAT-Viaggio-2012-Seatbelt-ReminderAlert-Activation-by-Launch-X431-13

13.Indicate the precautions before testing the Program left front tire pressure function;

FIAT-Viaggio-2012-Seatbelt-ReminderAlert-Activation-by-Launch-X431-14

14.Indicate to read and enter the left front tire sensor ID from the label on the back of the sensor;

FIAT-Viaggio-2012-Seatbelt-ReminderAlert-Activation-by-Launch-X431-15

15.Click [Continue] to manually enter the front left tire sensor ID. (Notice: While entering the ID, the legality of the length and the letter case of the ID will be determined, which will be required to enter again if they do not meet the requirements);

FIAT-Viaggio-2012-Seatbelt-ReminderAlert-Activation-by-Launch-X431-16

16.Enter the left front tire sensor ID;
FIAT-Viaggio-2012-Seatbelt-ReminderAlert-Activation-by-Launch-X431-17

17.The program will judge the entered ID is not illegal (The length is 8), and then indicate to enter again

FIAT-Viaggio-2012-Seatbelt-ReminderAlert-Activation-by-Launch-X431-18

18.Enter the left front tire sensor ID again

19.Enter the left front tire sensor ID, and then click Confirm;

20.Indicate ‘Successfully programmed the written left front tire sensor ID’;

21.The Program left front tire sensor function has been completed. The operation methods for Program left rear tire sensor ID, Program right front tire sensor ID, Program right rear tire sensor ID and Program left front tire sensor ID are the same. Respectively enter the corresponding tire sensor ID exactly. There is no more description for it.

评论

此博客中的热门博文

How to Replace and Reprogram Chrysler FCM with DRB III

  SUBJECT: Replacing or reprogramming the Front Control Module (FCM) OVERVIEW: Erroneous Actuation of Horns, Headlamps, and Parking Lamps while vehicle is parked MODELS: 2001 – 2004 (RG) Chrysler Voyager (International Markets) 2001 – 2004 (RS) Town & Country/Caravan/Voyager SYMPTOM/CONDITION: While the vehicle is parked the customer may experience the horn sounding on and off, flashing the headlamps and the parking lamps as if the security alarm was actuated. The technician may find the vehicle is not equipped with Security Alarm system (sales code LSA). DIAGNOSIS: 1. Using a Scan Tool (DRBIII®) with the appropriate Diagnostic Procedures Manual, verify all engine systems are functioning as designed. If DTCs are present record them on the repair order and repair as necessary before proceeding further with this bulletin. 2. Determine the “Hardware Part #” of the FCM. Using the DRB III select: 3. DRBIII Standalone 4. 1998 – 2005 Diagnostics 5. All 6. Body Interi

How to update BMW ICOM A2 or ICOM NEXT Firmware

  When using the latest ISTA D software to do BMW diagnosis, icom hareware can be detected, but the device doesn’t communicate with the vehicle,  can’t enter modules reading page, like below picture: What’s the solution? The firmware doesn’t match with the  latest ISTA sofware, firmware need to be updated. ICOM firmware update steps: 1. Need the latest updated file for ICOM firmware: 2.Charge ICOM hardware, connect the vehicle, use ISTA engineering sofware IToolRadar to detect the IP address of  ICOM hardware, see below picture, the IP address can be found as 169.254.92.38 3. Open Internet Explorer Input the IP address which is deteced above to the address bar: like http://169.254.92.38:60080 username: root password: NZY11502 4. Click “update firmware” after login 5. Follow below steps: 6. Need to wait seconds, and click  “yes” when below  page show up: 7. During ICOM firmware update, four light on ICOM are all read, need to wait 3~5 minutes, when update fin

How to update the firmware of ICOM NEXT A

Upgraded the new version of  BMW Diagnostic Software ISTA. When connected to the vehicle, click to start the vehicle to detect ICOM, but the State is Firmware. At this time, you need to upgrade the firmware of BMW ICOM Next ; ICOM NEXT A firmware upgrade steps 1. First, you need the firmware file of the new version of ICOM NEXT, the ICOM NEXT firmware file has a name with ICOM NEXT XXX, The two files xxx root xxx and xxx app xxx need to be upgraded. (Firmware version is different, the file name is different, but all versions of the firmware have the file name of ICOM_Nextxx) 2.ICOM NEXT A is connected to the car, usually the OBD interface of the car (the same method as the car diagnosis), open the diagnostic software ISTA, or use the software ITool Radar, you can detect the IP address of ICOM NEXT (IP address is automatically obtained), The IP address detected by the ISTA software is 169.254.192.155; 3.Open the IE browser, enter the IP address and port number of ICO